Bathroom and toilet renovation: what the process looks like from start to finish
By Janice · Updated 2026-07-30
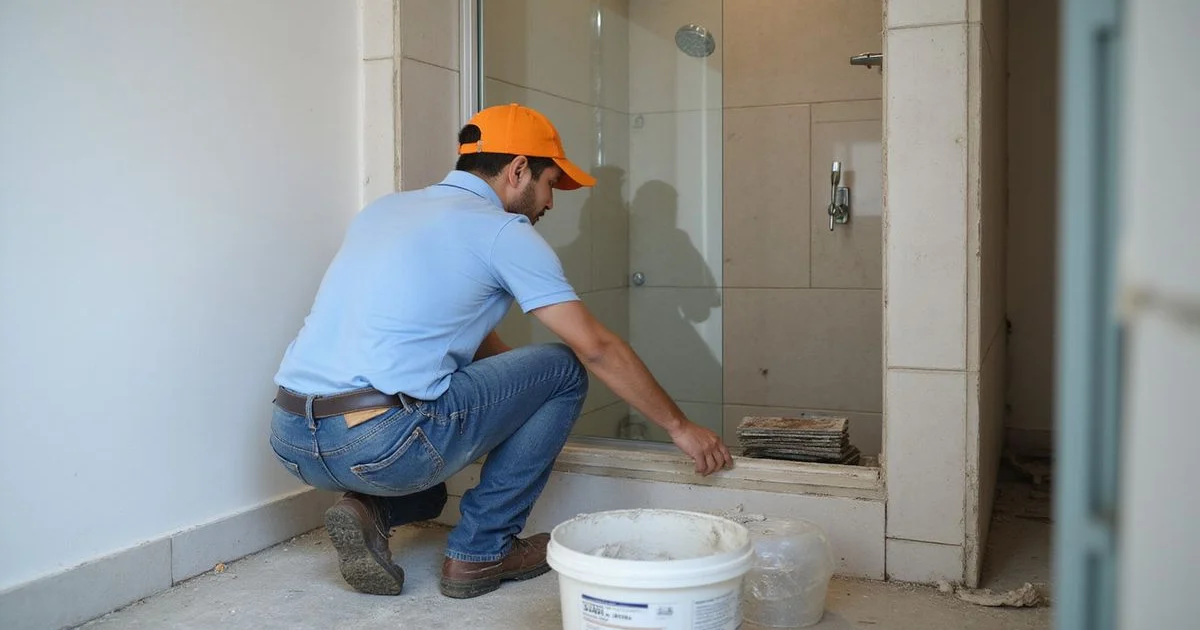
A bathroom renovation touches plumbing, tiling, electrical, and waterproofing all in a small space, which is why it can feel more complicated than other home projects. Here is what the process actually looks like, so you know what stage you are at and what comes next.
Step 1: Assessment and scope
Everything starts with a site visit to assess the existing bathroom: the condition of the pipework, whether the layout is changing, and what finish level you are aiming for. This is where the scope gets defined, roughly matching one of three tiers: a fittings-only refresh (replacing the toilet, sink, and taps without touching tiling), a partial renovation (fittings plus tiling, keeping the same layout), or a full renovation (strip and rebuild, sometimes moving fixtures to a new layout). If you live in a condo or apartment, this is also the stage to check whether the management or JMB requires sign-off before work starts; the guide to condo pipe work approval covers what that process usually involves.
Step 2: Planning and materials
Once the scope is agreed, tiles, fittings, and fixtures need to be selected and ordered. This step is where most delays happen, not the actual labour, since specific tiles or imported fittings can take time to arrive. Confirming material availability and lead times before work starts is one of the most useful questions you can ask upfront.
Step 3: Strip-out and rough plumbing
For partial and full renovations, the existing fittings and tiling come out first, exposing the pipework underneath. This is when hidden issues, such as corroded pipes or old waterproofing that has failed, tend to surface. A reputable contractor flags any changes to the scope and price at this point rather than continuing silently.
Step 4: Waterproofing and tiling
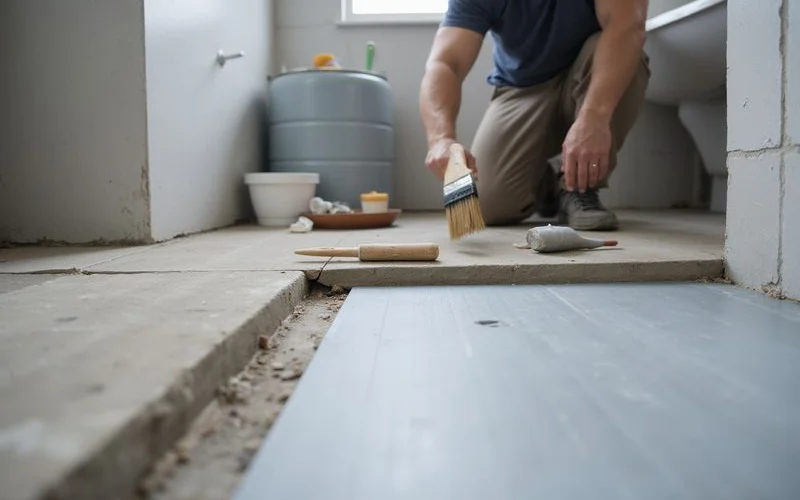
Waterproofing is applied to the floor and walls before tiling begins, and this step matters far more than it looks, since a poor waterproofing job is the most common cause of leaks into the unit below in a multi-storey building. Tiling follows once the waterproofing has cured properly.
It is worth asking your contractor for the waterproofing curing time before tiling starts, and confirming they will not rush this step. A waterproofing layer that is tiled over before it has properly cured is one of the most common, and most expensive, sources of a leak discovered months after the renovation is finished.
Step 5: Fittings and fixtures
Once tiling is complete, the toilet, sink, shower or bath fittings, and any accessories go in. This is also when new pipework is connected to the fittings and tested for leaks before anything is sealed up.
Step 6: Final check and handover
A proper handover includes running all the fittings, checking for leaks at every joint, confirming drainage works correctly, and a walkthrough of anything under warranty. Ask for this final check in person rather than taking it on trust.
A rough timeline by scope
| Scope | Typical duration | Key steps involved |
|---|---|---|
| Fittings-only refresh | 1-2 days | Remove and replace toilet, sink, taps |
| Partial renovation | 1-2 weeks | Fittings plus tiling, same layout |
| Full renovation | 3-5 weeks | Strip-out, waterproofing, tiling, layout changes |
What to watch for during the job
Feedback from customers across bathroom renovation providers in this directory consistently rewards clean, tidy work and clear communication when the scope changes, and consistently penalises delays that are not explained or a mismatch between the quoted price and the final bill. Asking for a rough schedule at each stage, and flagging any change in scope or price the moment it happens, keeps the project predictable.
If you are comparing contractors for this kind of work, bathroom and toilet renovation and fitting specialists in Klang Valley are ranked using recent customer feedback on workmanship, communication, and pricing. You can also check how that ranking is calculated before trusting any “top” list, including this one.
A bathroom renovation feels like a big undertaking mainly because it involves several trades working in sequence. Knowing the six stages above, and where the common delays and disputes tend to happen, makes it much easier to keep the project on track. Head back to the homepage to browse the full directory by category.
Questions people ask
- How long does a typical bathroom renovation take?
- A fittings-only refresh can be done in a day or two. A partial renovation involving tiling usually takes one to two weeks. A full strip-and-rebuild, especially one changing the layout, can take three to five weeks depending on the scope.
- Do I need to move out during the renovation?
- For a fittings-only job or a partial renovation, most households stay put and simply avoid using the bathroom being worked on. For a full renovation, especially if it is your only bathroom, it is worth planning alternative arrangements.
- Can I use my existing pipework, or does everything need replacing?
- It depends on the age and condition of the pipework. Sound, functioning pipes can often be reused, particularly for a fittings-only or partial job. Older or corroded pipework is usually flagged during the initial assessment and replaced as part of the renovation.
- What is the biggest cause of delay in a bathroom renovation?
- Waiting on specific tiles, fittings, or fixtures that need to be ordered in, rather than the actual labour, is the most common cause of delay. Confirming material availability before work starts helps avoid this.
Related on this site
- Browse bathroom & toilet fitting/renovation providers
- Best bathroom & toilet fitting/renovation in Klang Valley →
- Getting approval for plumbing and pipe work in your condo or apartment
- How to choose a reliable plumber in Klang Valley: red flags and questions to ask
- What to expect when you book a general plumbing repair, step by step
- All guides →